Mounting Step by Step... Lawn edge
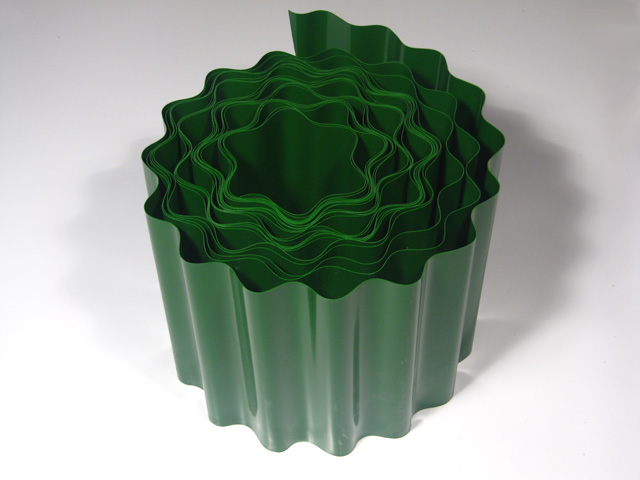
The first step is to obtain some commercially available lawn edging with a height of 10 cm or 15 cm. The fence is usually available in lengths of 9 m, but several strips can be joined together. More about this later. The lawn edging is also available for purchase from our Online Shop.
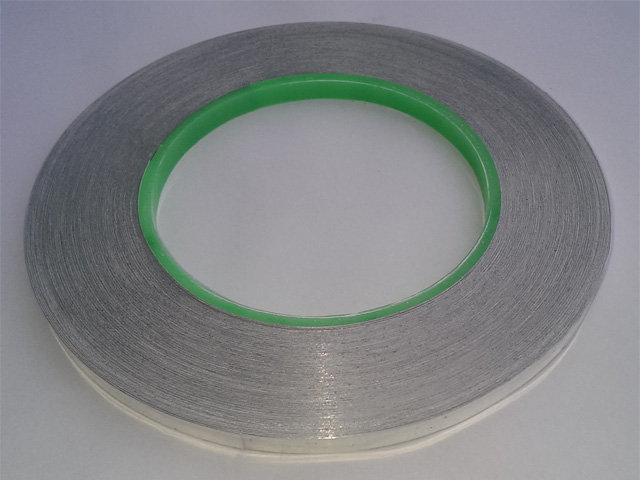
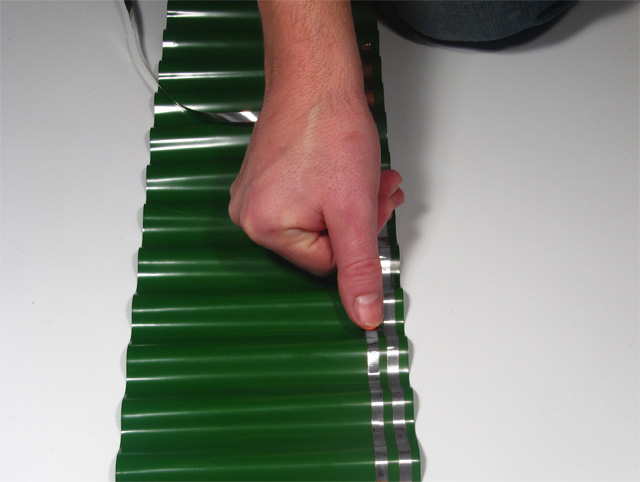
Affix two strips of thin, self-adhesive aluminium tape to the lawn edging. The aluminium conducting tape (see Online Shop) is approx. 6 mm wide and the two strips should be affixed approx. 5 mm apart. Be careful to avoid creasing, as this can later lead to tears and prevent the electrical impulses from being conducted along the entire length of the fence. If the aluminium tape tears, tape over a length of 4 cm to 5 cm to restore the electrical connection and carry on. Follow the same procedure later if the fence gets damaged und results in a tear. Simply tape over a short length and the current can be conducted again. The length of the fence should be adjusted to fit the area of garden to be cordoned off.
Before putting up the slug fence in the garden, prepare the electrical and mechanical joints.
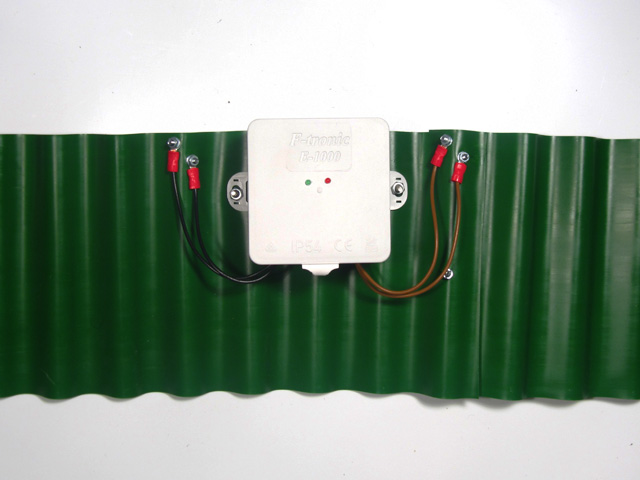
The power source can consist of a junction box, three 1.5V batteries and a multiplier. A specially designed energy source controller is available from our Online Shop. The circuit generates short electrical impulses at regular intervals which extends the battery life. Two LEDs indicate the status of the fence.
Before putting up the slug fence in the garden, prepare the electrical and mechanical joints.
The power source can consist of a junction box, three 1.5V batteries and a multiplier. A specially designed energy source controller is available from our Online Shop. The circuit generates short electrical impulses at regular intervals which extends the battery life. Two LEDs indicate the status of the fence.

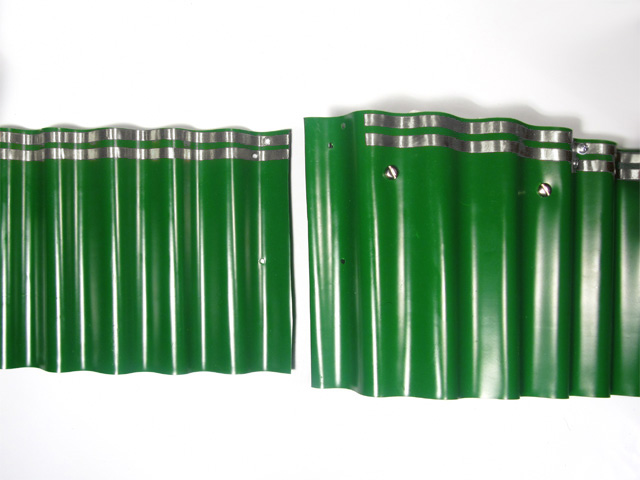
First, prepare the ends of the slug fence as illustrated on the left. Make sure that the holes are properly aligned by placing the ends on top of each other and drilling a hole through both.

It is IMPORTANT that the ends of the aluminium strip do not touch when the ends are screwed together, so make sure that you remove the aluminium strip in the places illustrated.
After screwing the same color lines, connect each with one side of the aluminum strips, as pictured on left. It does not matter which line is connected up or down.
Online Shop
Useful informations
Quick purchase
Welcome back!
Payment methods

Electric snail fence - Protection and defense for your garden © 2024 | Template © 2009-2024 by modified eCommerce Shopsoftware